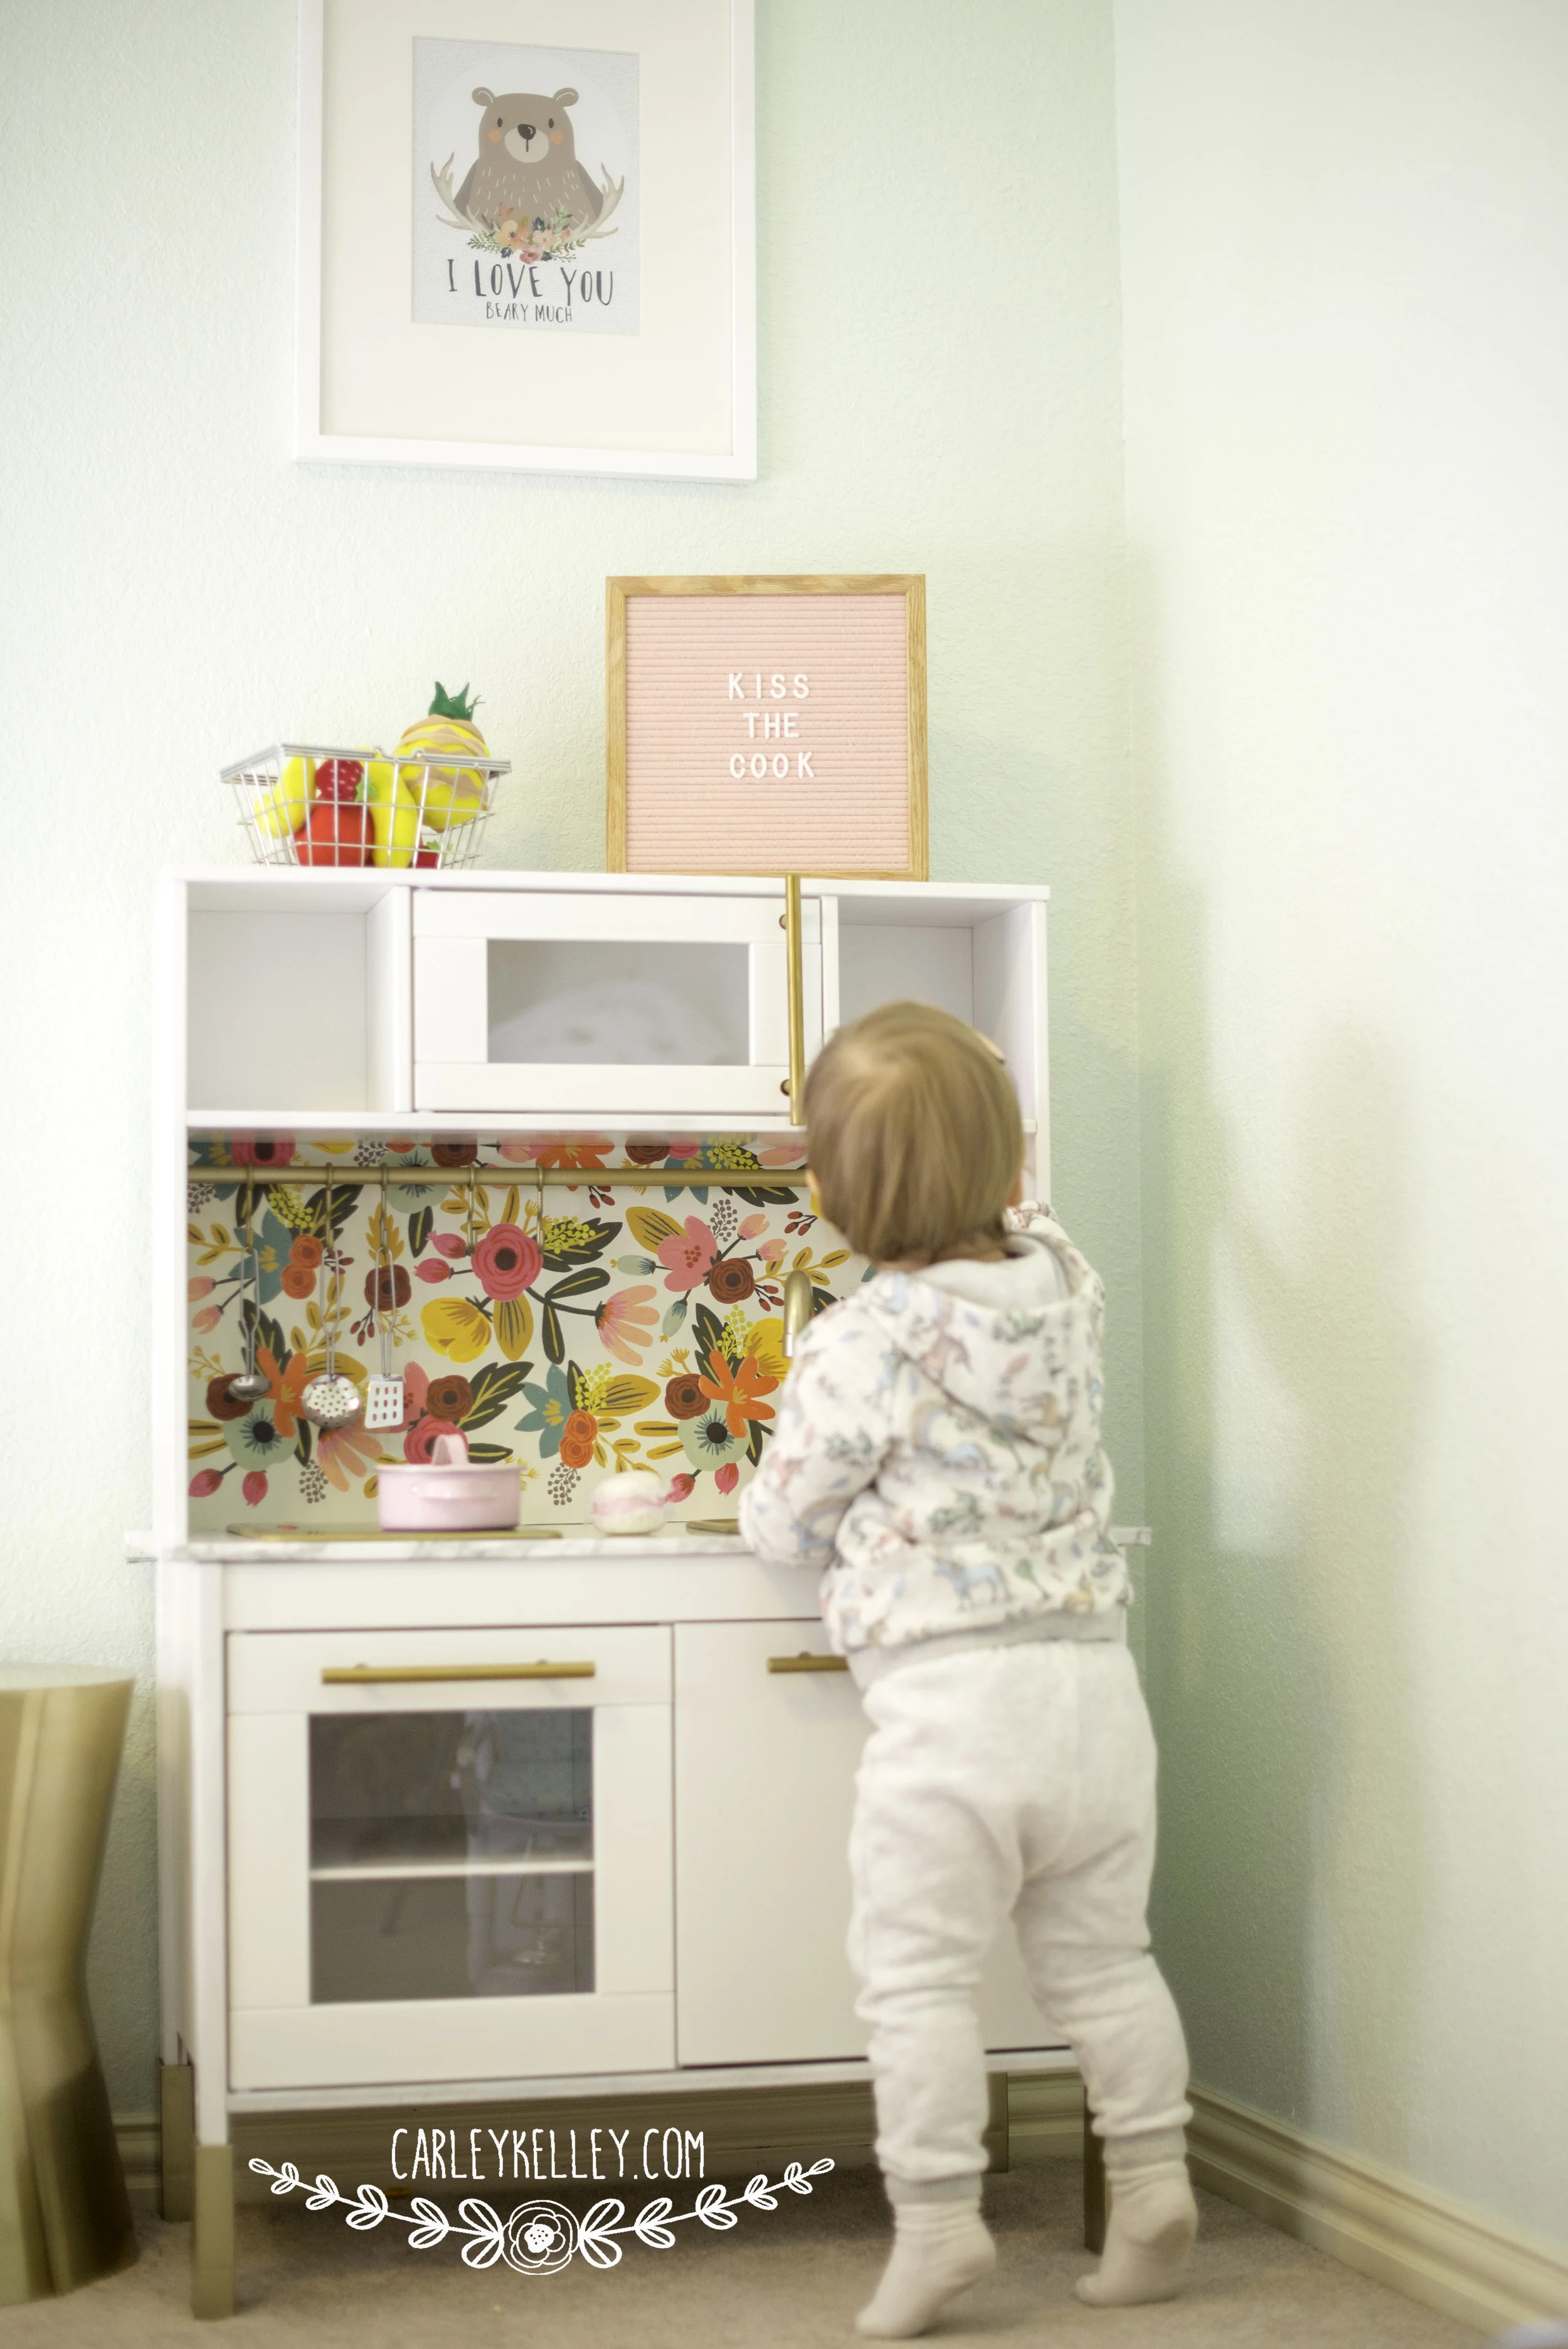
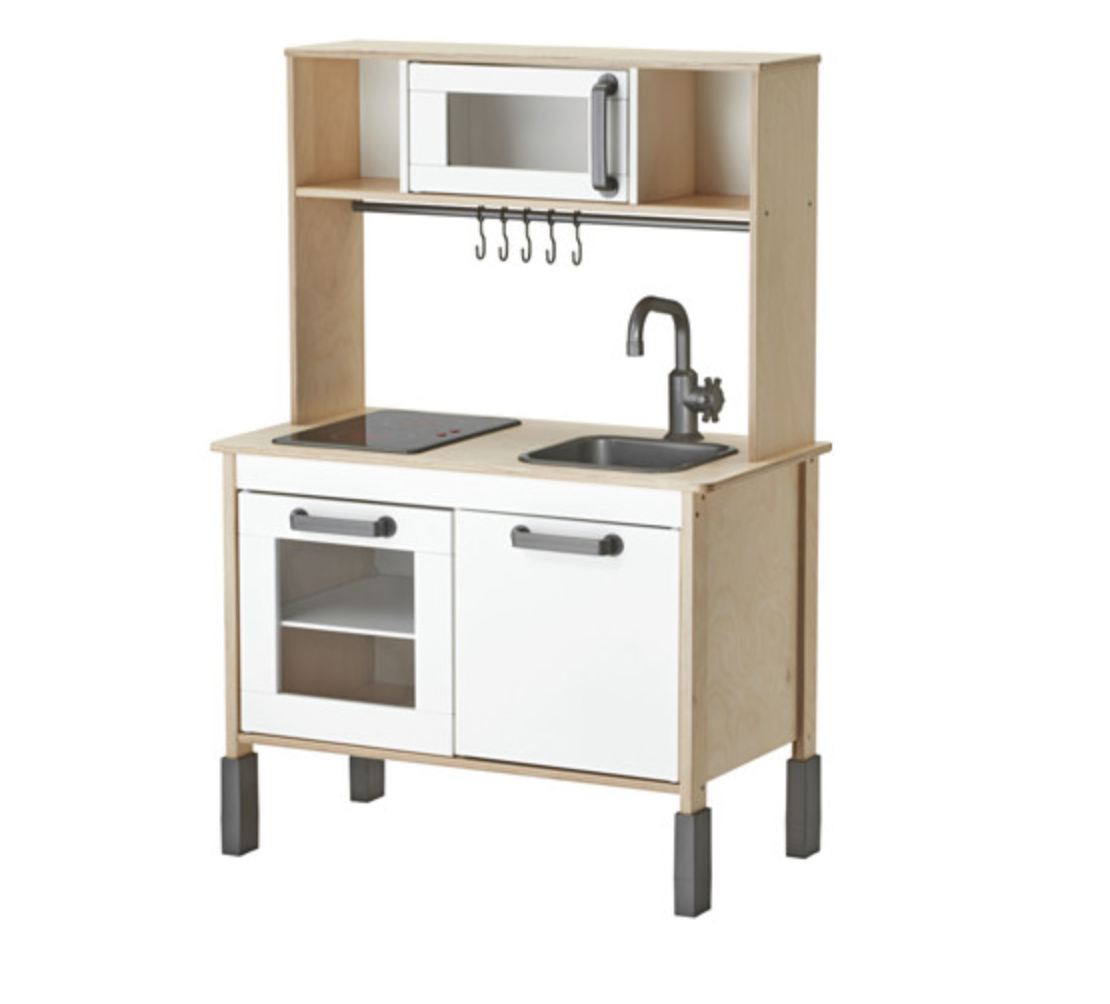
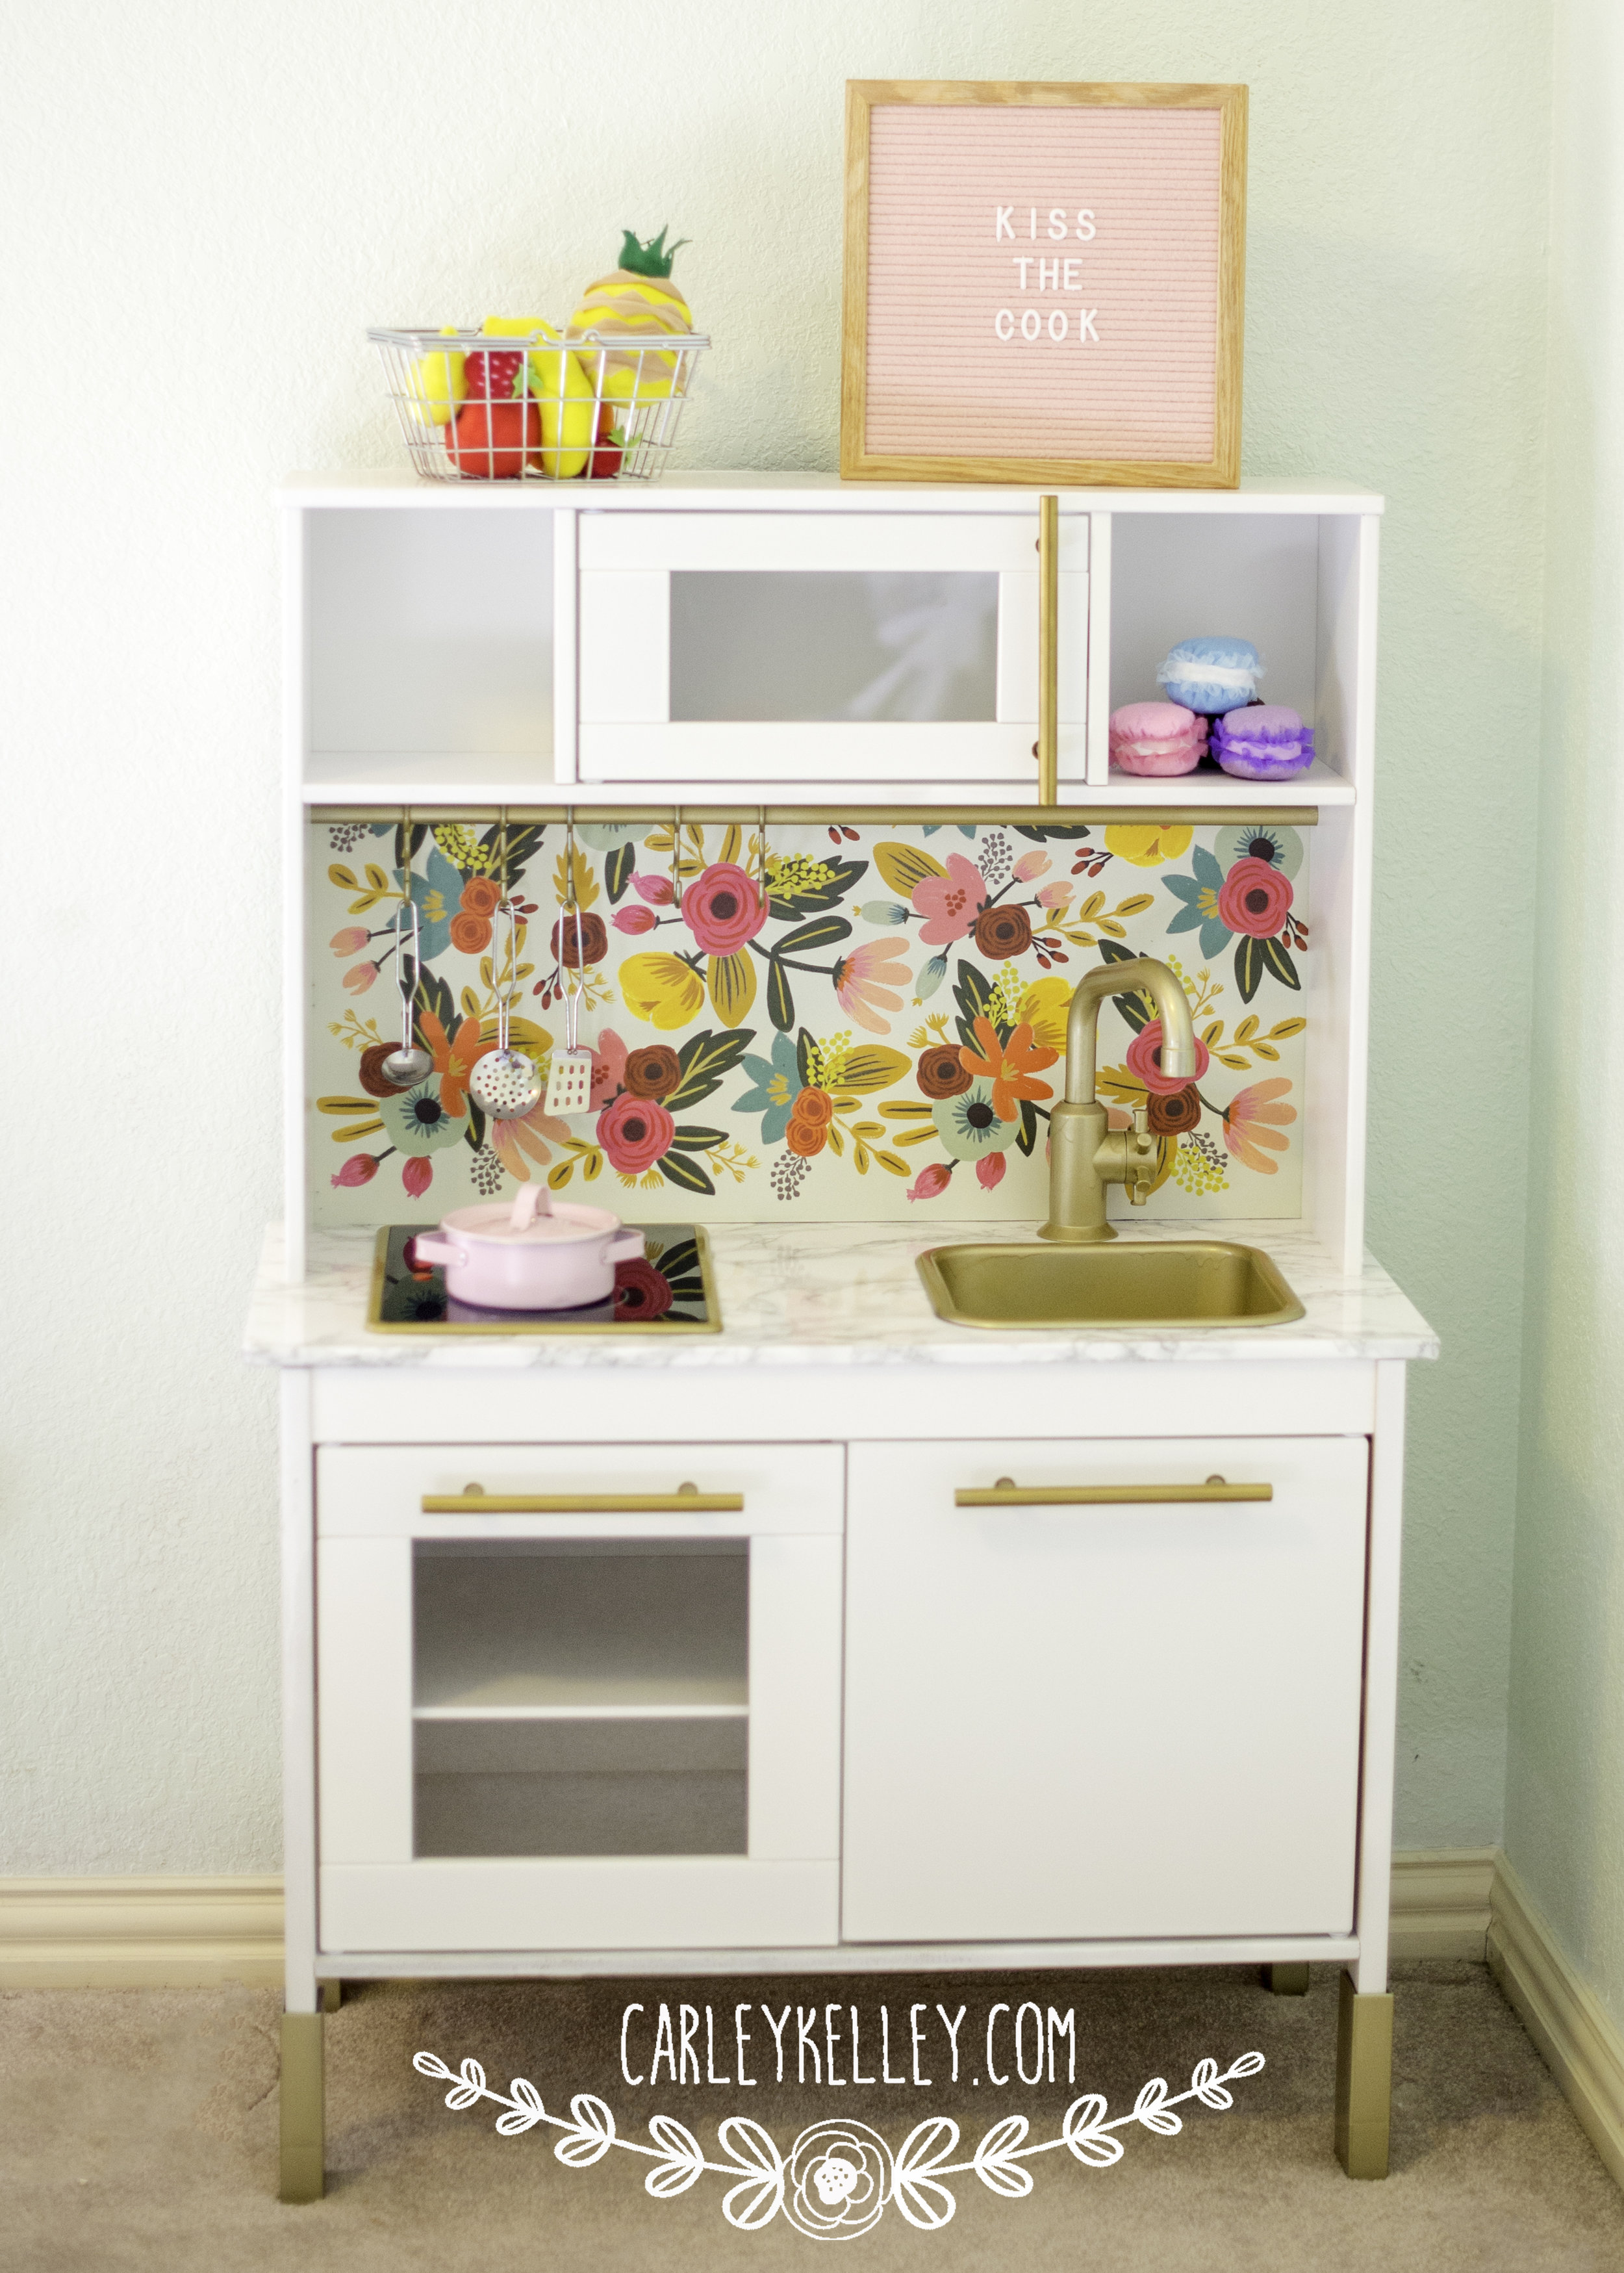
I knew I wanted to get my girl a play kitchen for Christmas. A lot of them are just eye sores, too big or cost a small fortune. I have seen several Ikea Duktig play kitchen makeovers and loved them. I finally decided that this was the best option for me. I love the size of the kitchen and that it is not to large, but it does come a little to plain for my liking. This makes it the perfect piece for glam up though and it is a great price point at $99.
Here is what I used:
- Ikea Duktig
- White Spray Paint + Primer
- Gold Spray Paint + Primer
- Marble Contact Paper
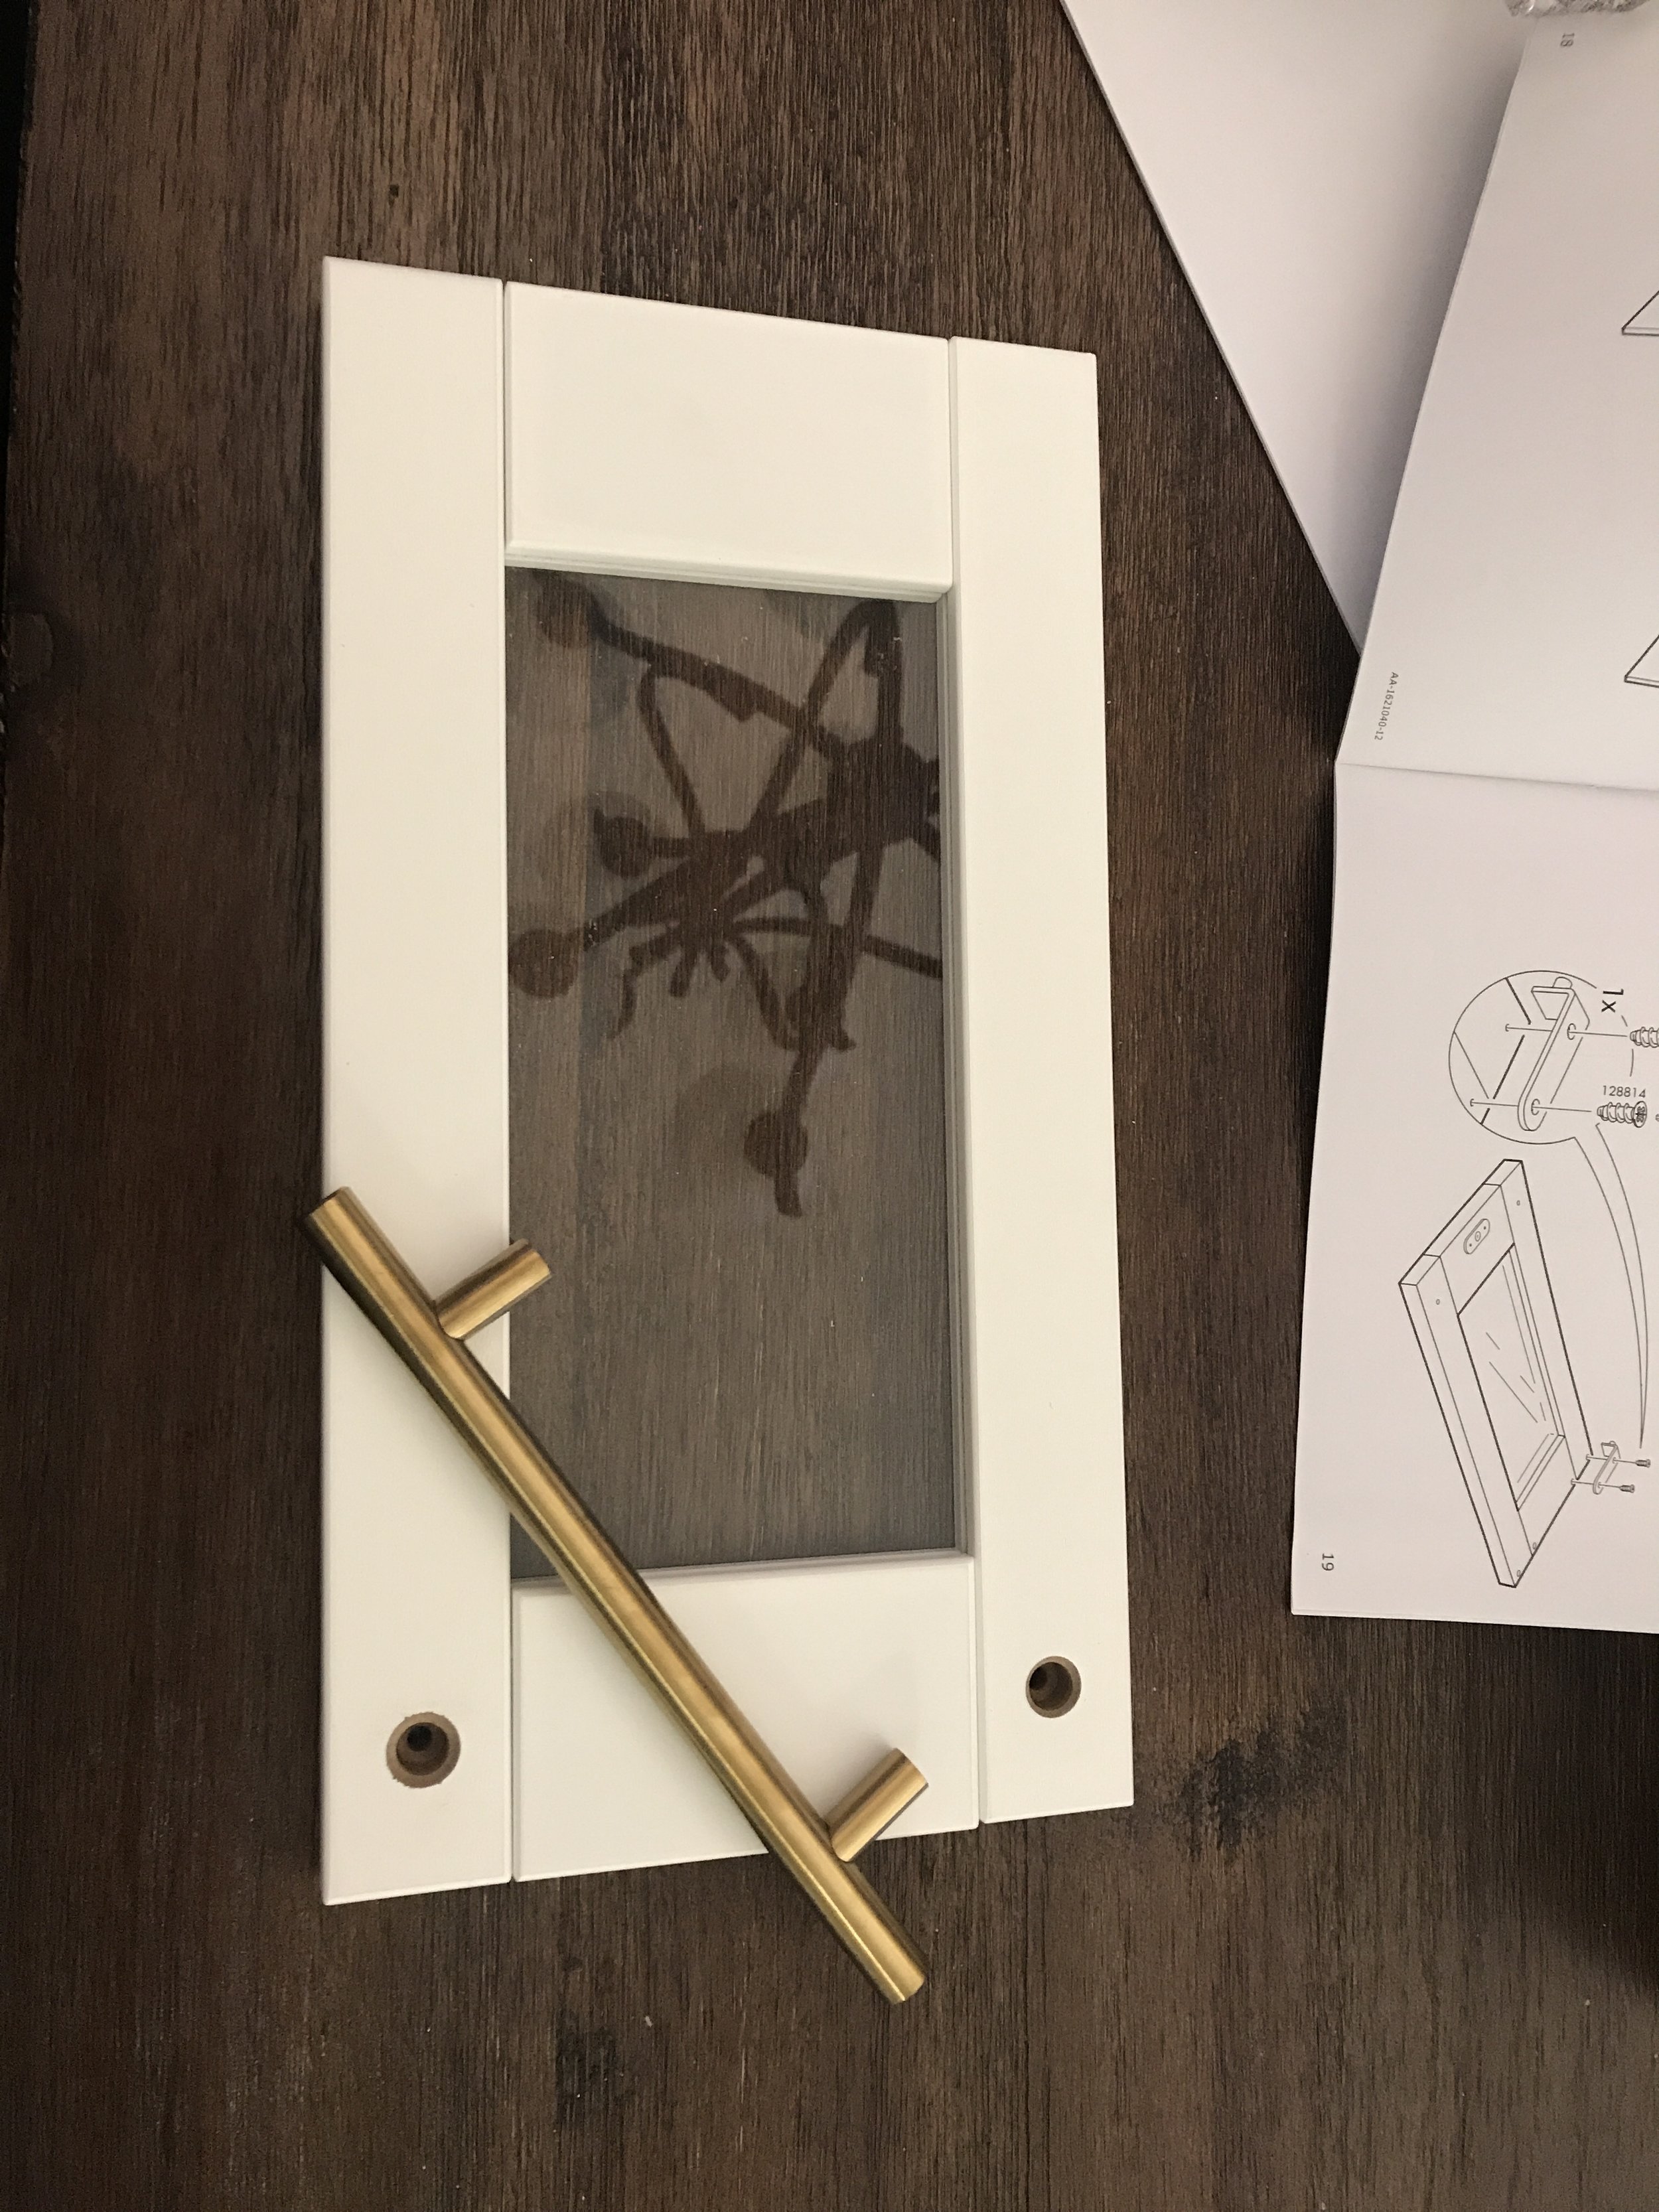
- Gold Bar Pulls (3) (You need your pulls to have holes 5 inches apart)
- Rifle Paper Gift Wrap Sheet
- Staple Gun/Staples
- Painter's Tape
- Foam Poster Board
So with these supplies and a few afternoons you can transform this plain kitchen into a fun, unique piece. I had a lot of fun with this DIY and I am totally jealous of my daughter's kitchen :)
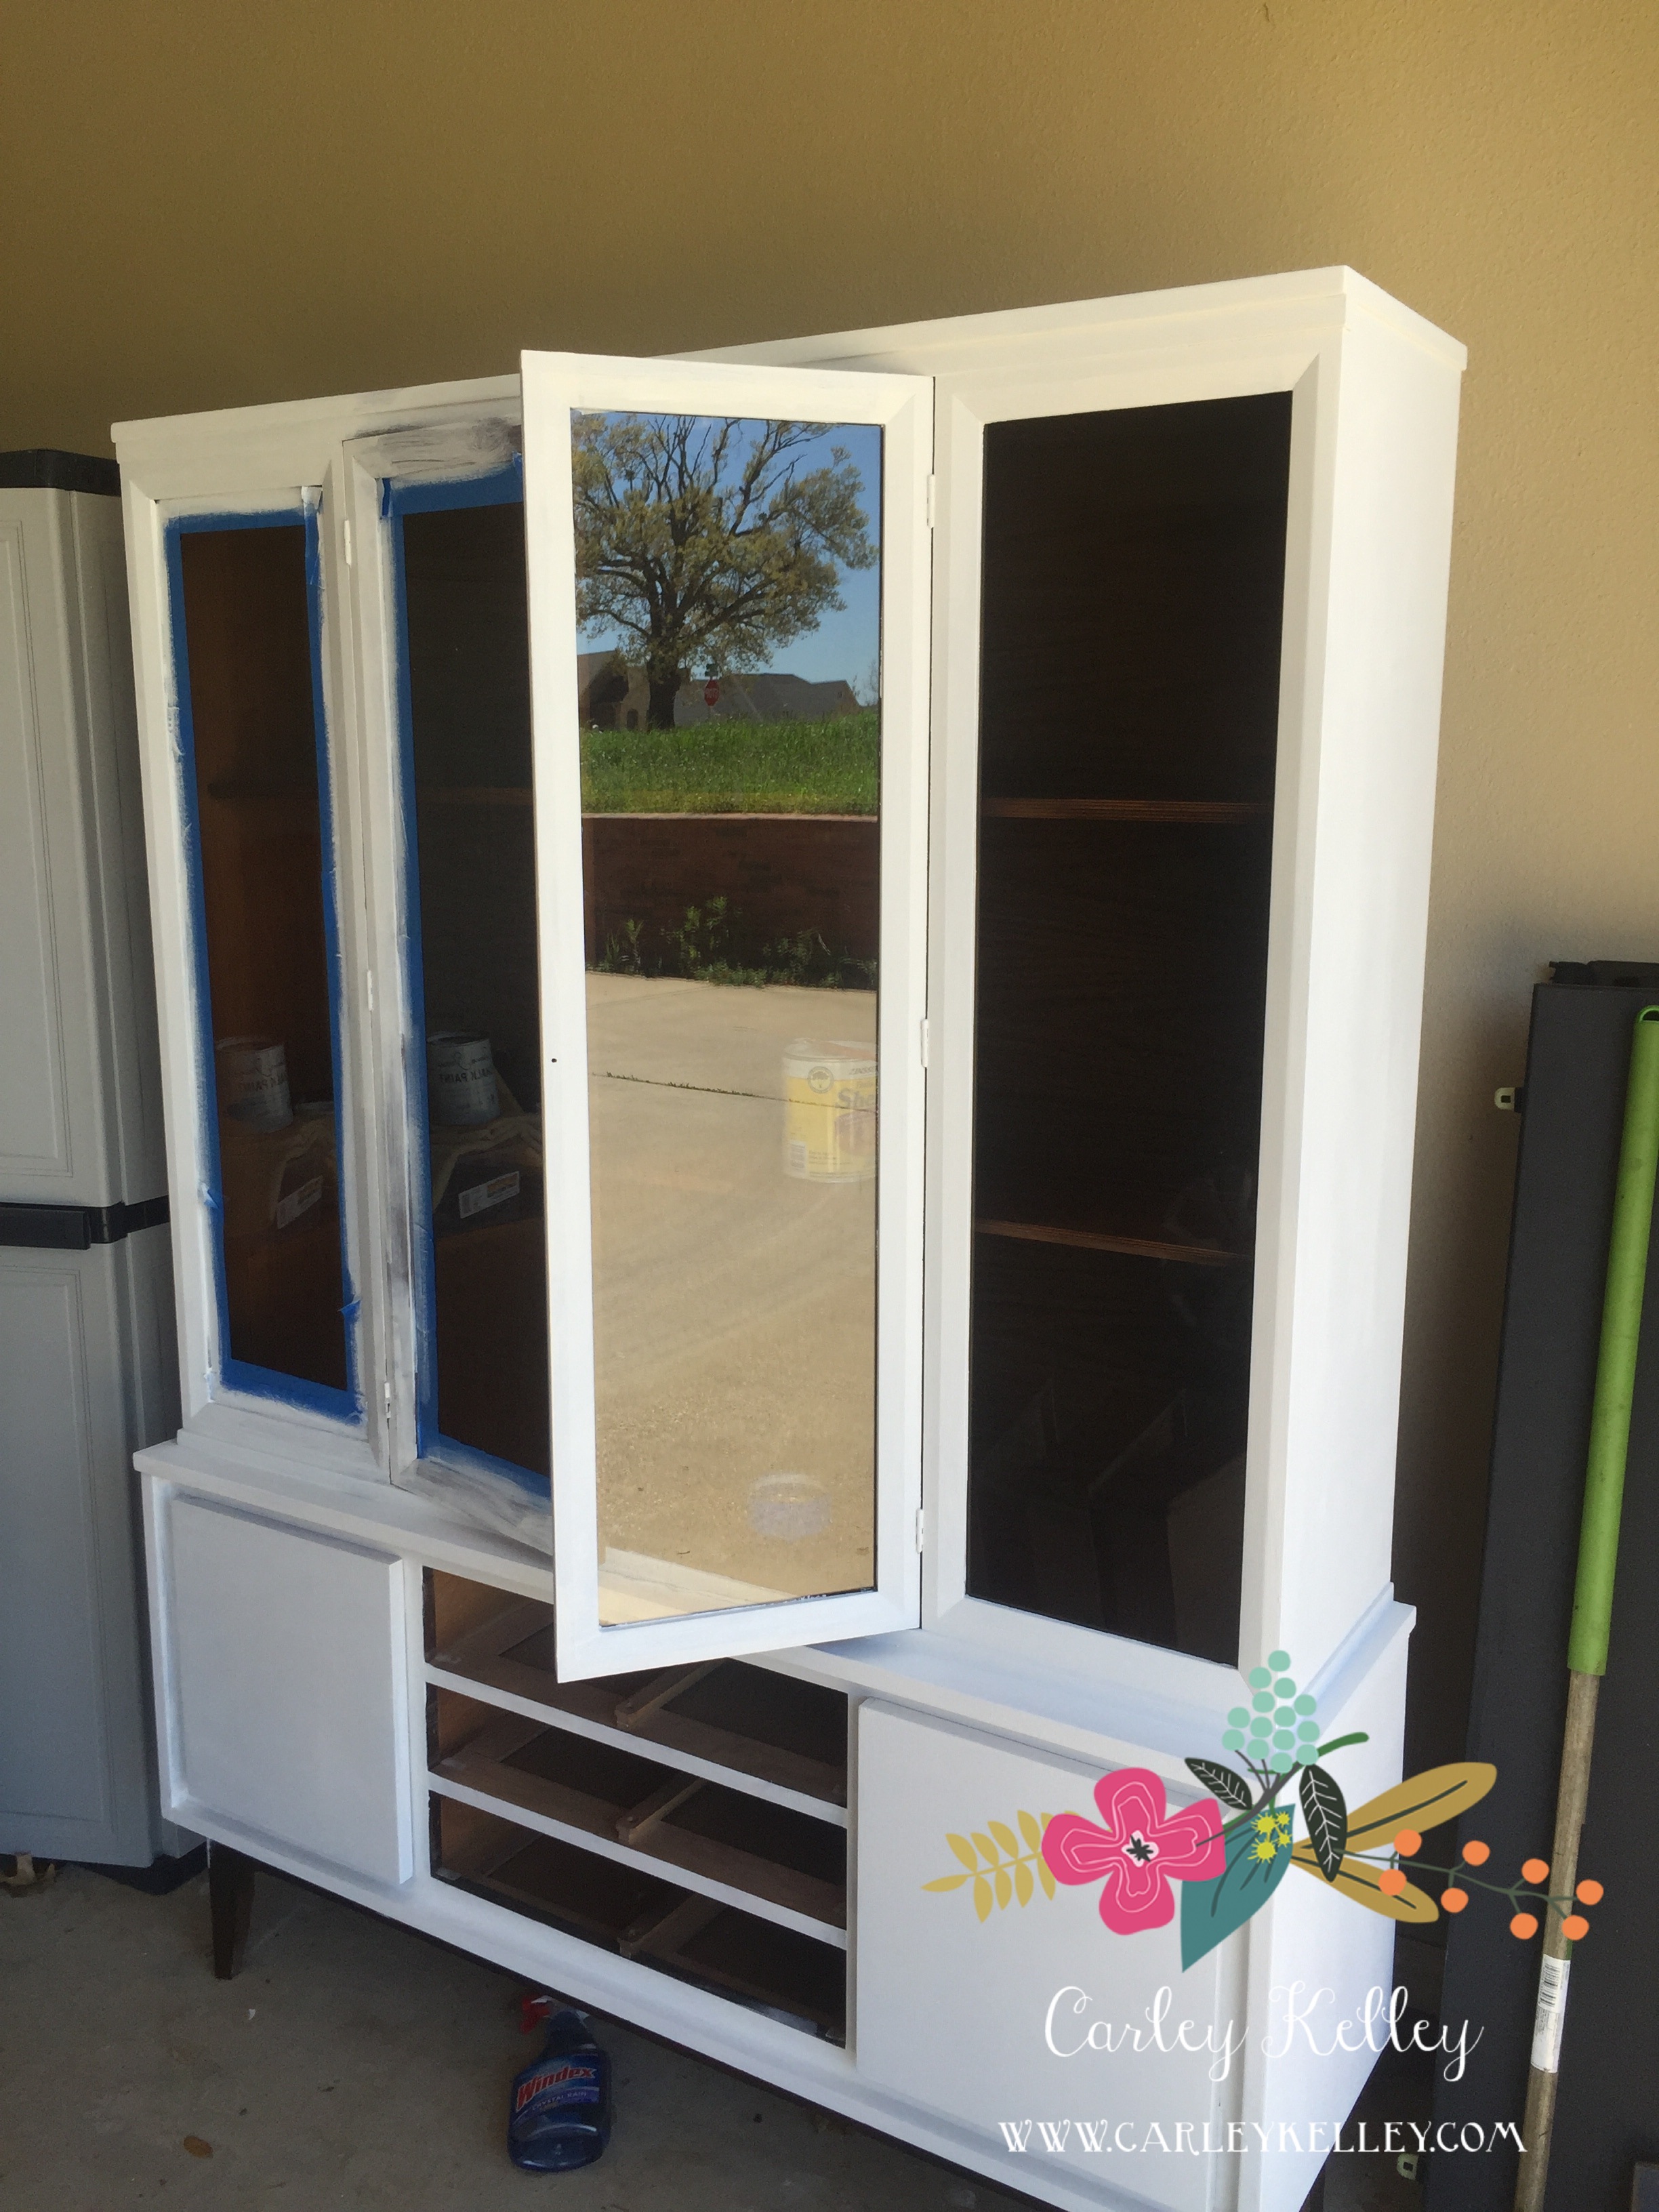
So the first thing I did was lay out all the pieces. This is Ikea so you know there are A LOT. I I then used the white spray paint and sprayed the sides white that would be showing that were not already white. On the bottom pieces I just did the outside because I didn't care if the inside was white and on the side pieces and shelf I did both sides since they both show. I am very impatient with my DIY projects and want to finish them all in a day. Don't be like me and spray your pieces and give them a day to dry in between and you will be much happier with your finished product.
This was my first time to use spray paint on a project and I am not that great at it. Make sure you take your time and spray evenly while constantly moving so you don't get any runs like I did. I was worried about my spray paint job but then remembered a 2 year old will be playing with it and have it destroyed in no time ha :)

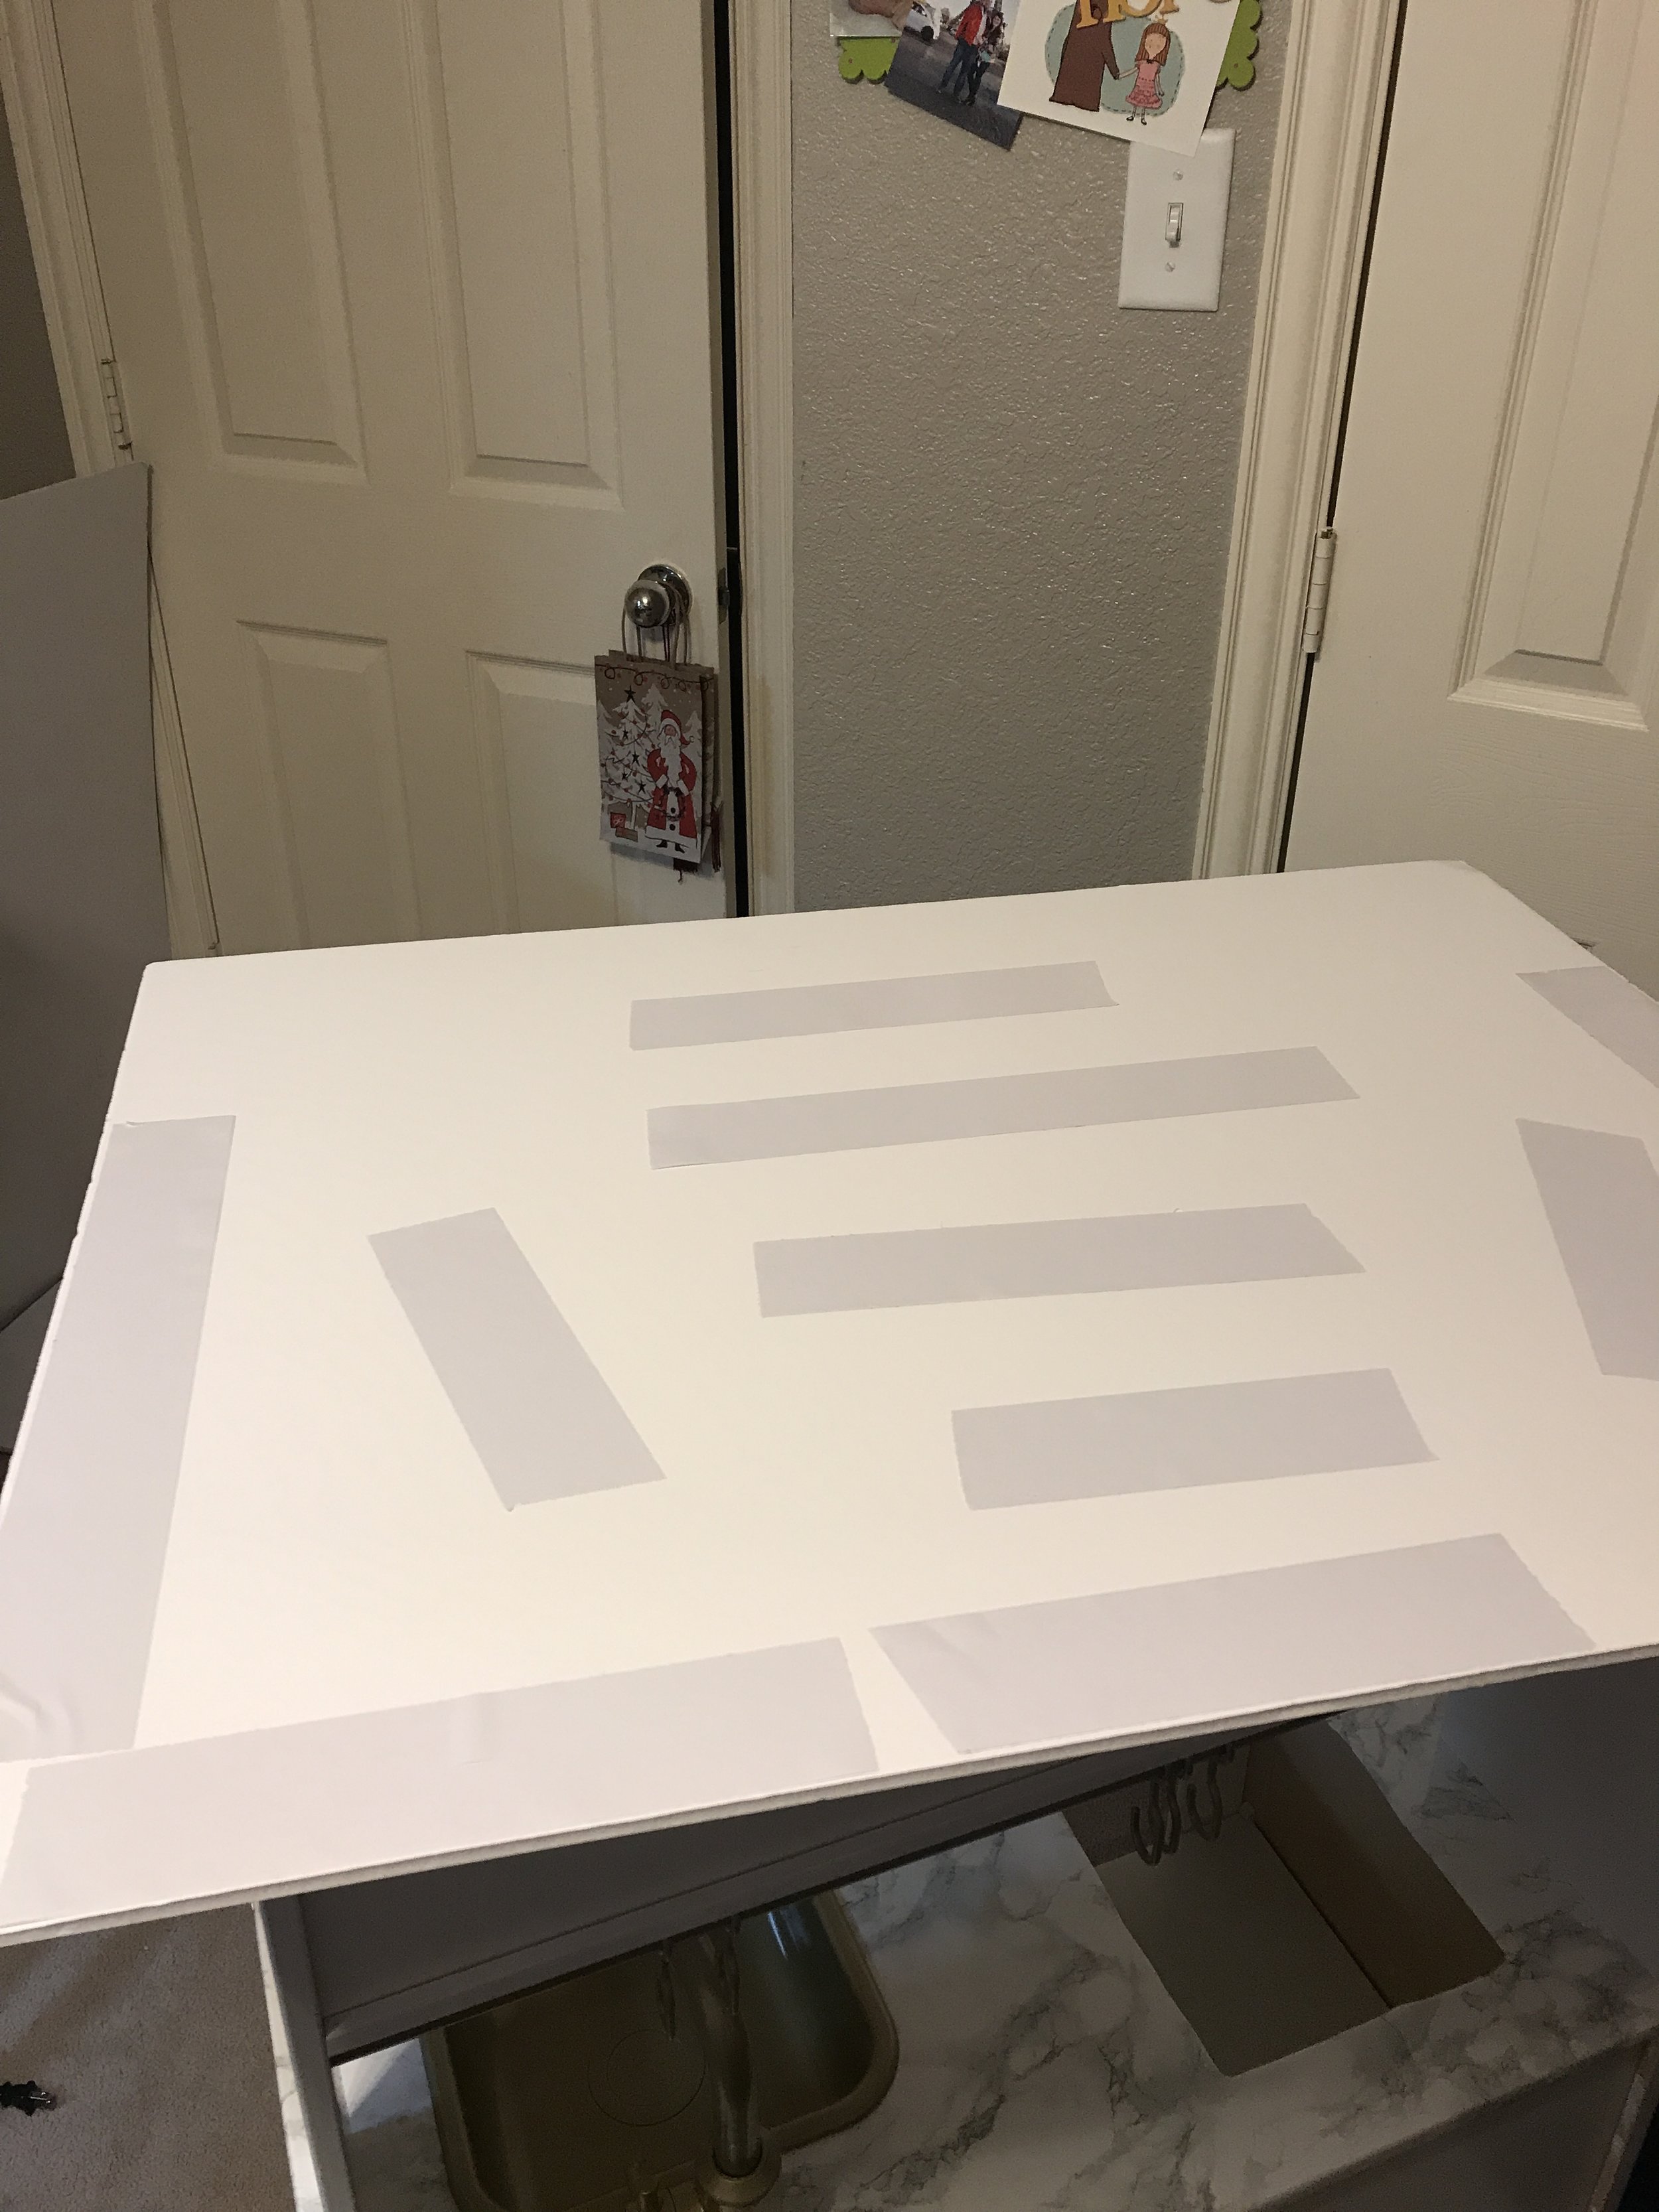
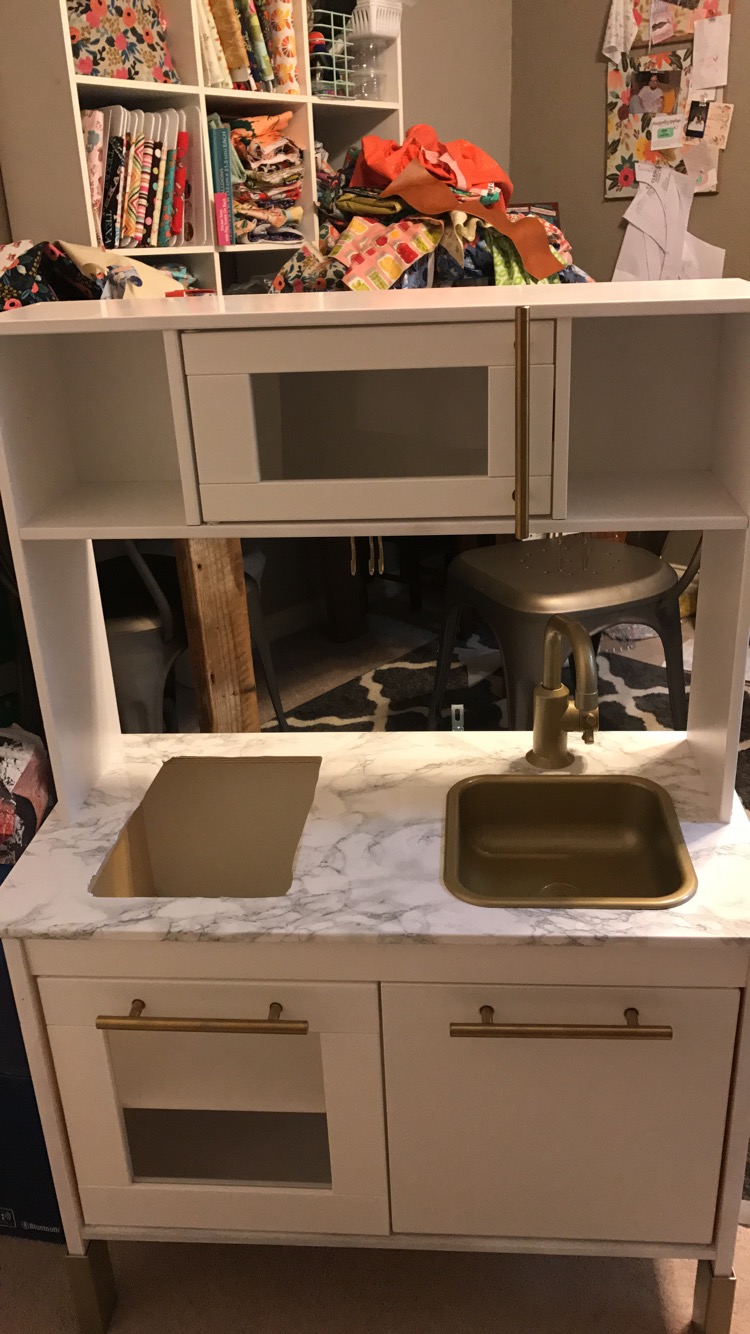
I also spray painted everything that I wanted gold. I had originally planned to spray paint the handles that it came with but found new handles at a great price online so did that instead and I really think that the new handles add a lot to it. I spray painted the riser, the sink, faucet, pole and hooks all gold. The faucet is a little tricky but I just sprayed it and let it dry then sprayed it from another angle. After completing the kitchen I also went back and painted the silver trim around the stove gold. I used painters tape to tape the whole top.
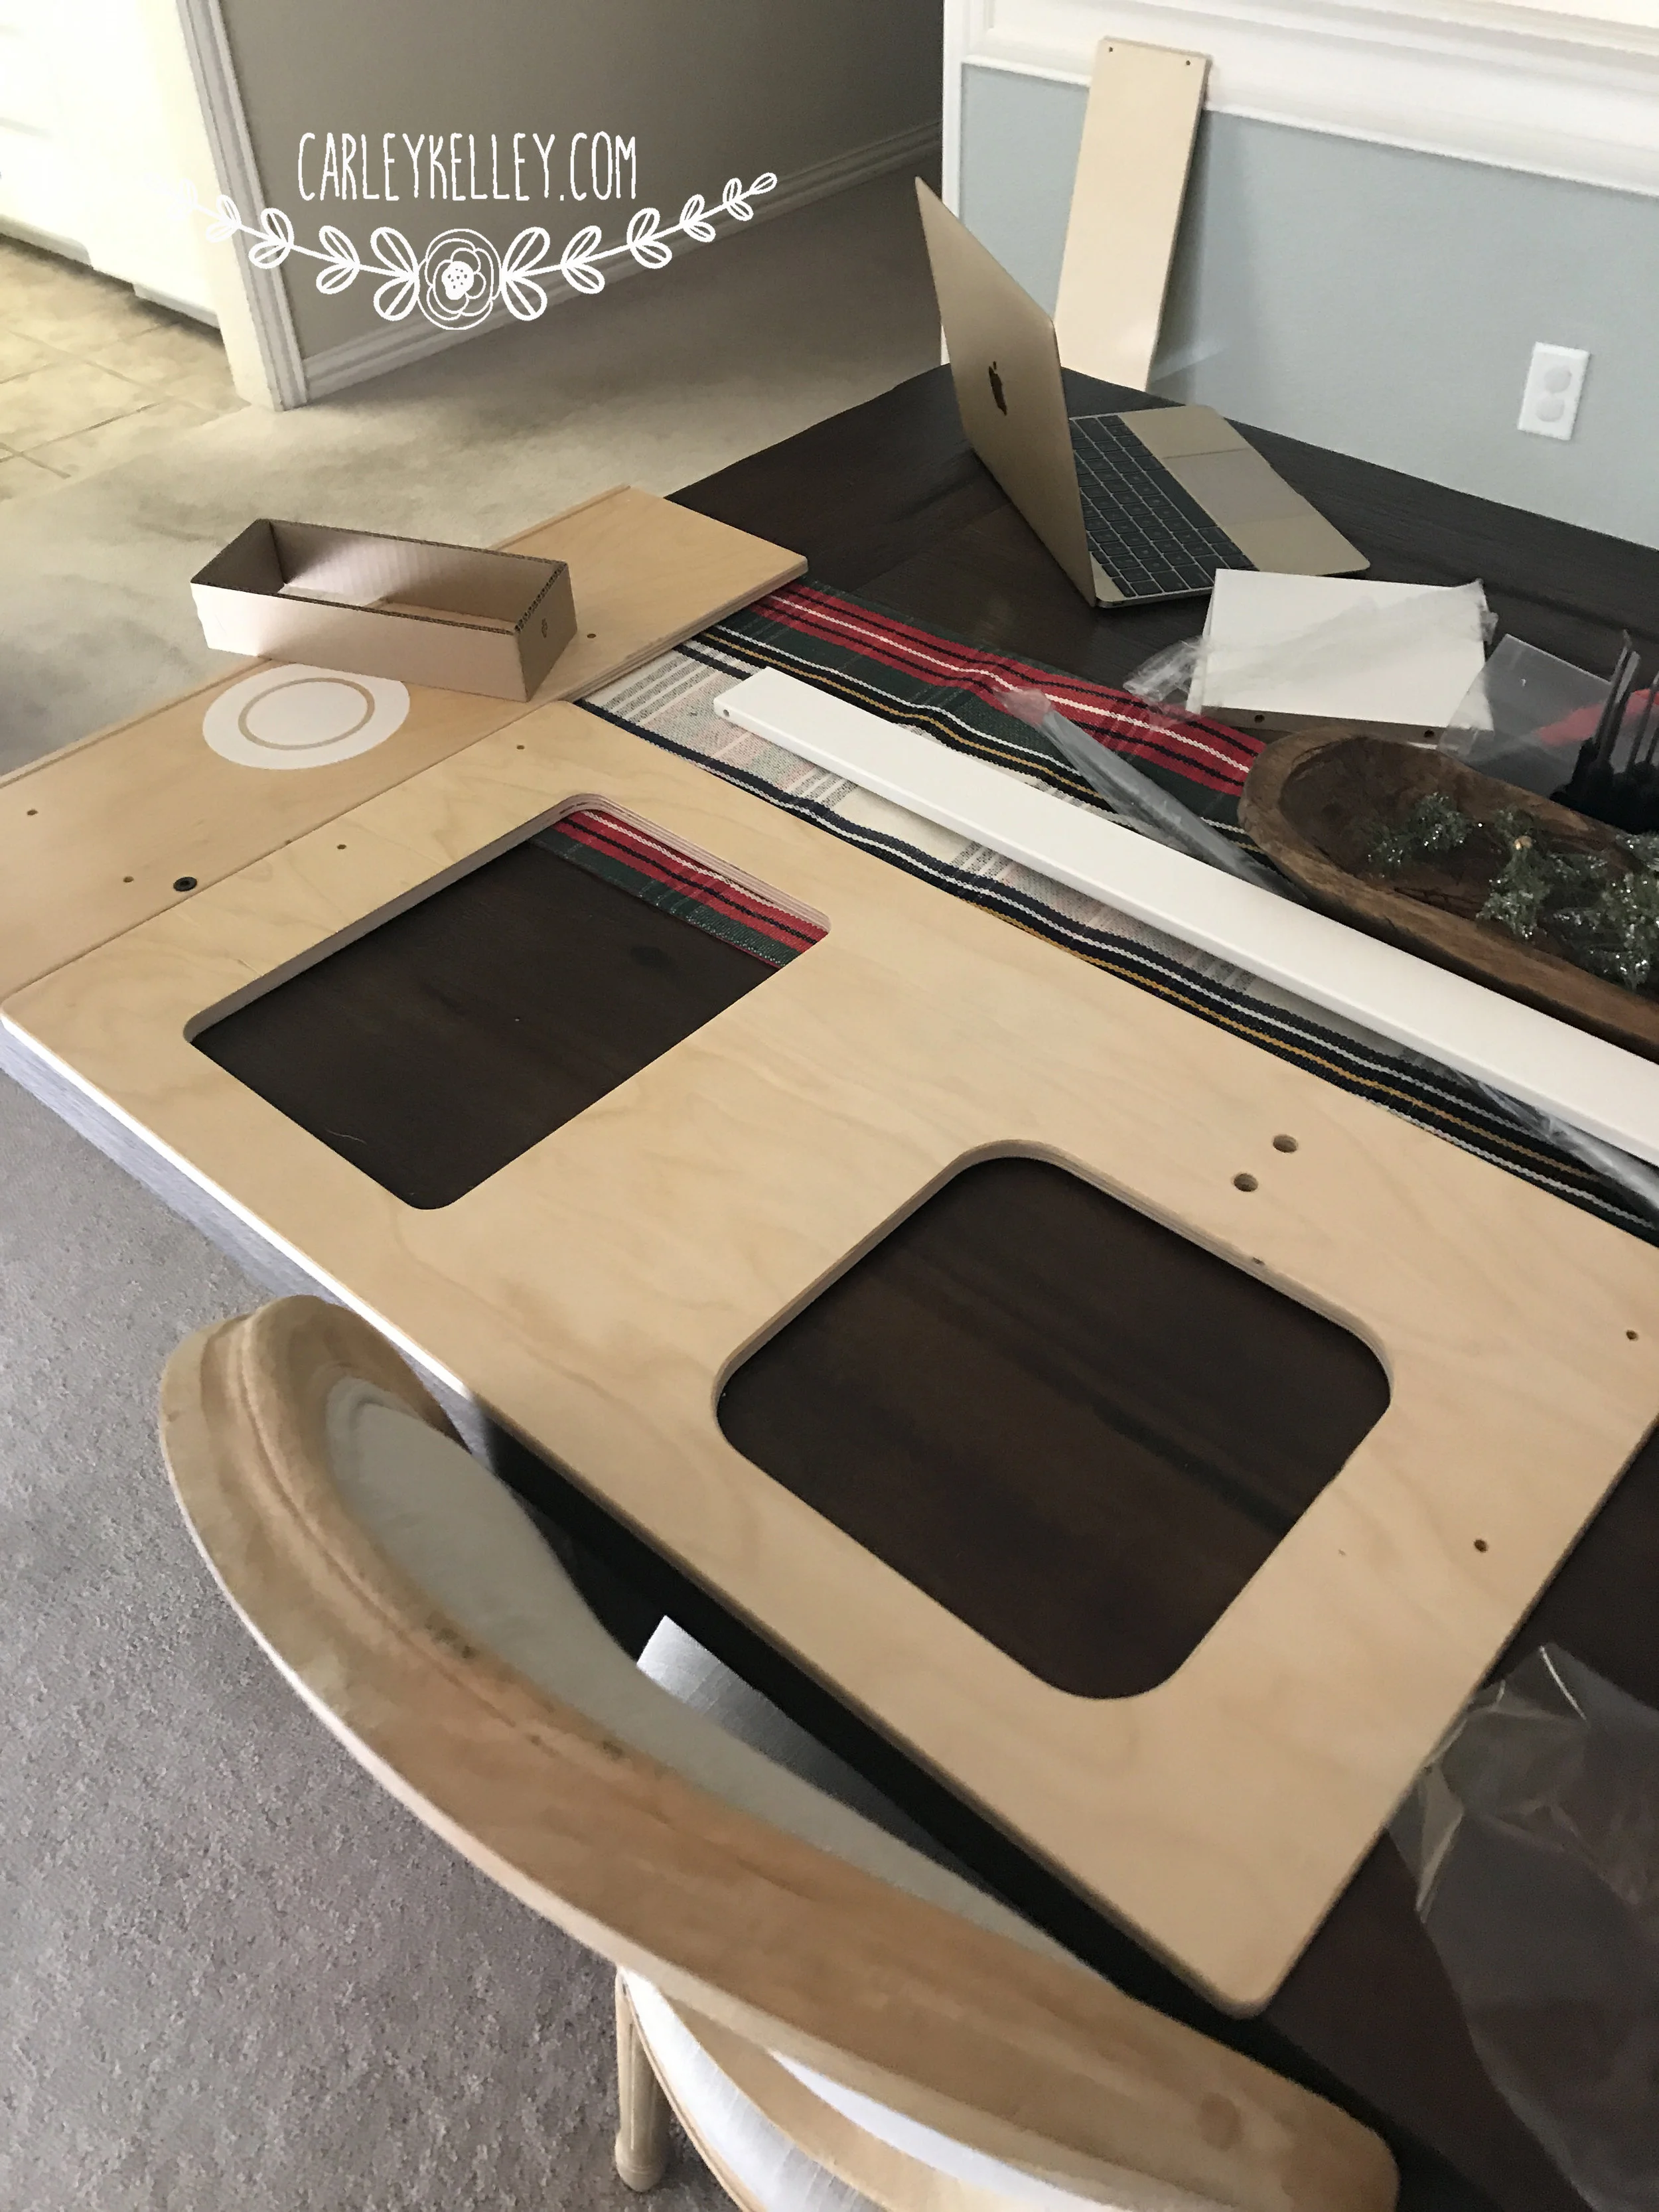

While I waited for my pieces to dry I went ahead and installed my marble countertops. I used this contact paper and just laid it over the top and smoothed out all the bubbles. I took a box opener and cut out the place for the sink and stove. The hardest part here is doing the corners. Mine are far from perfect.
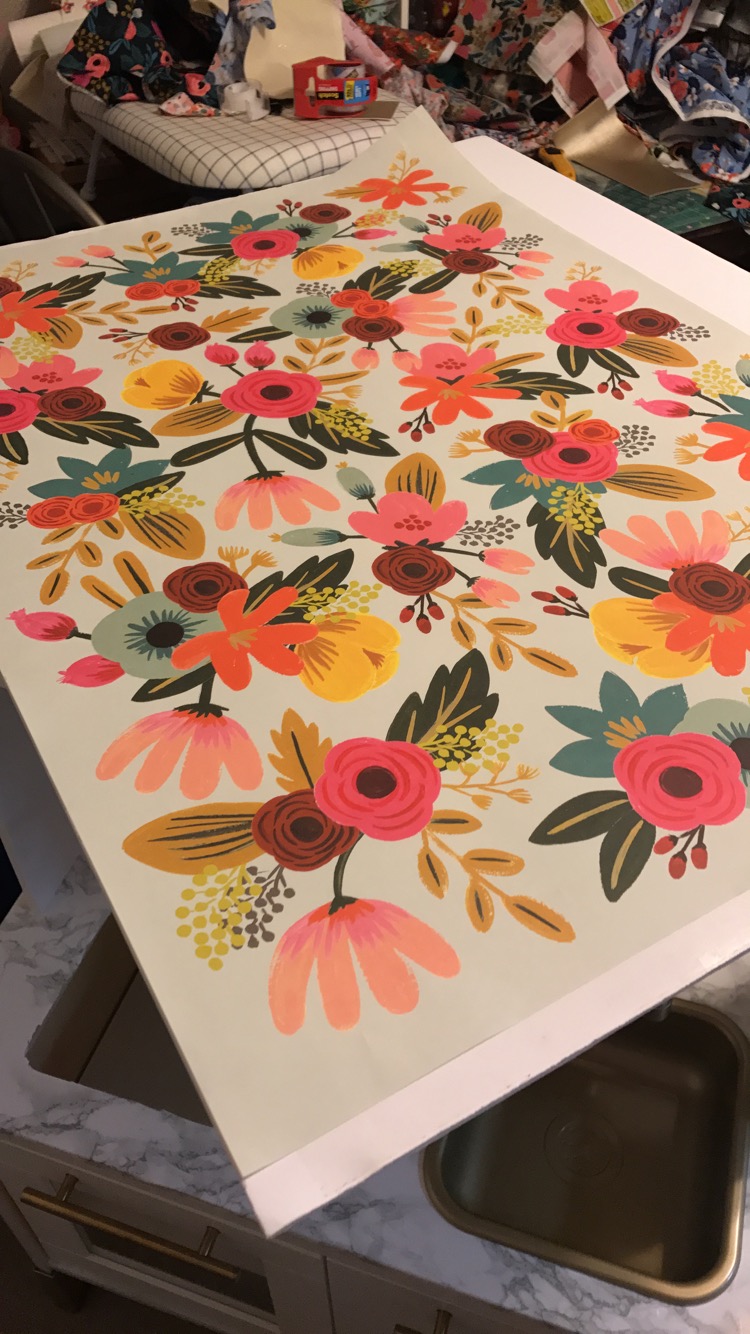
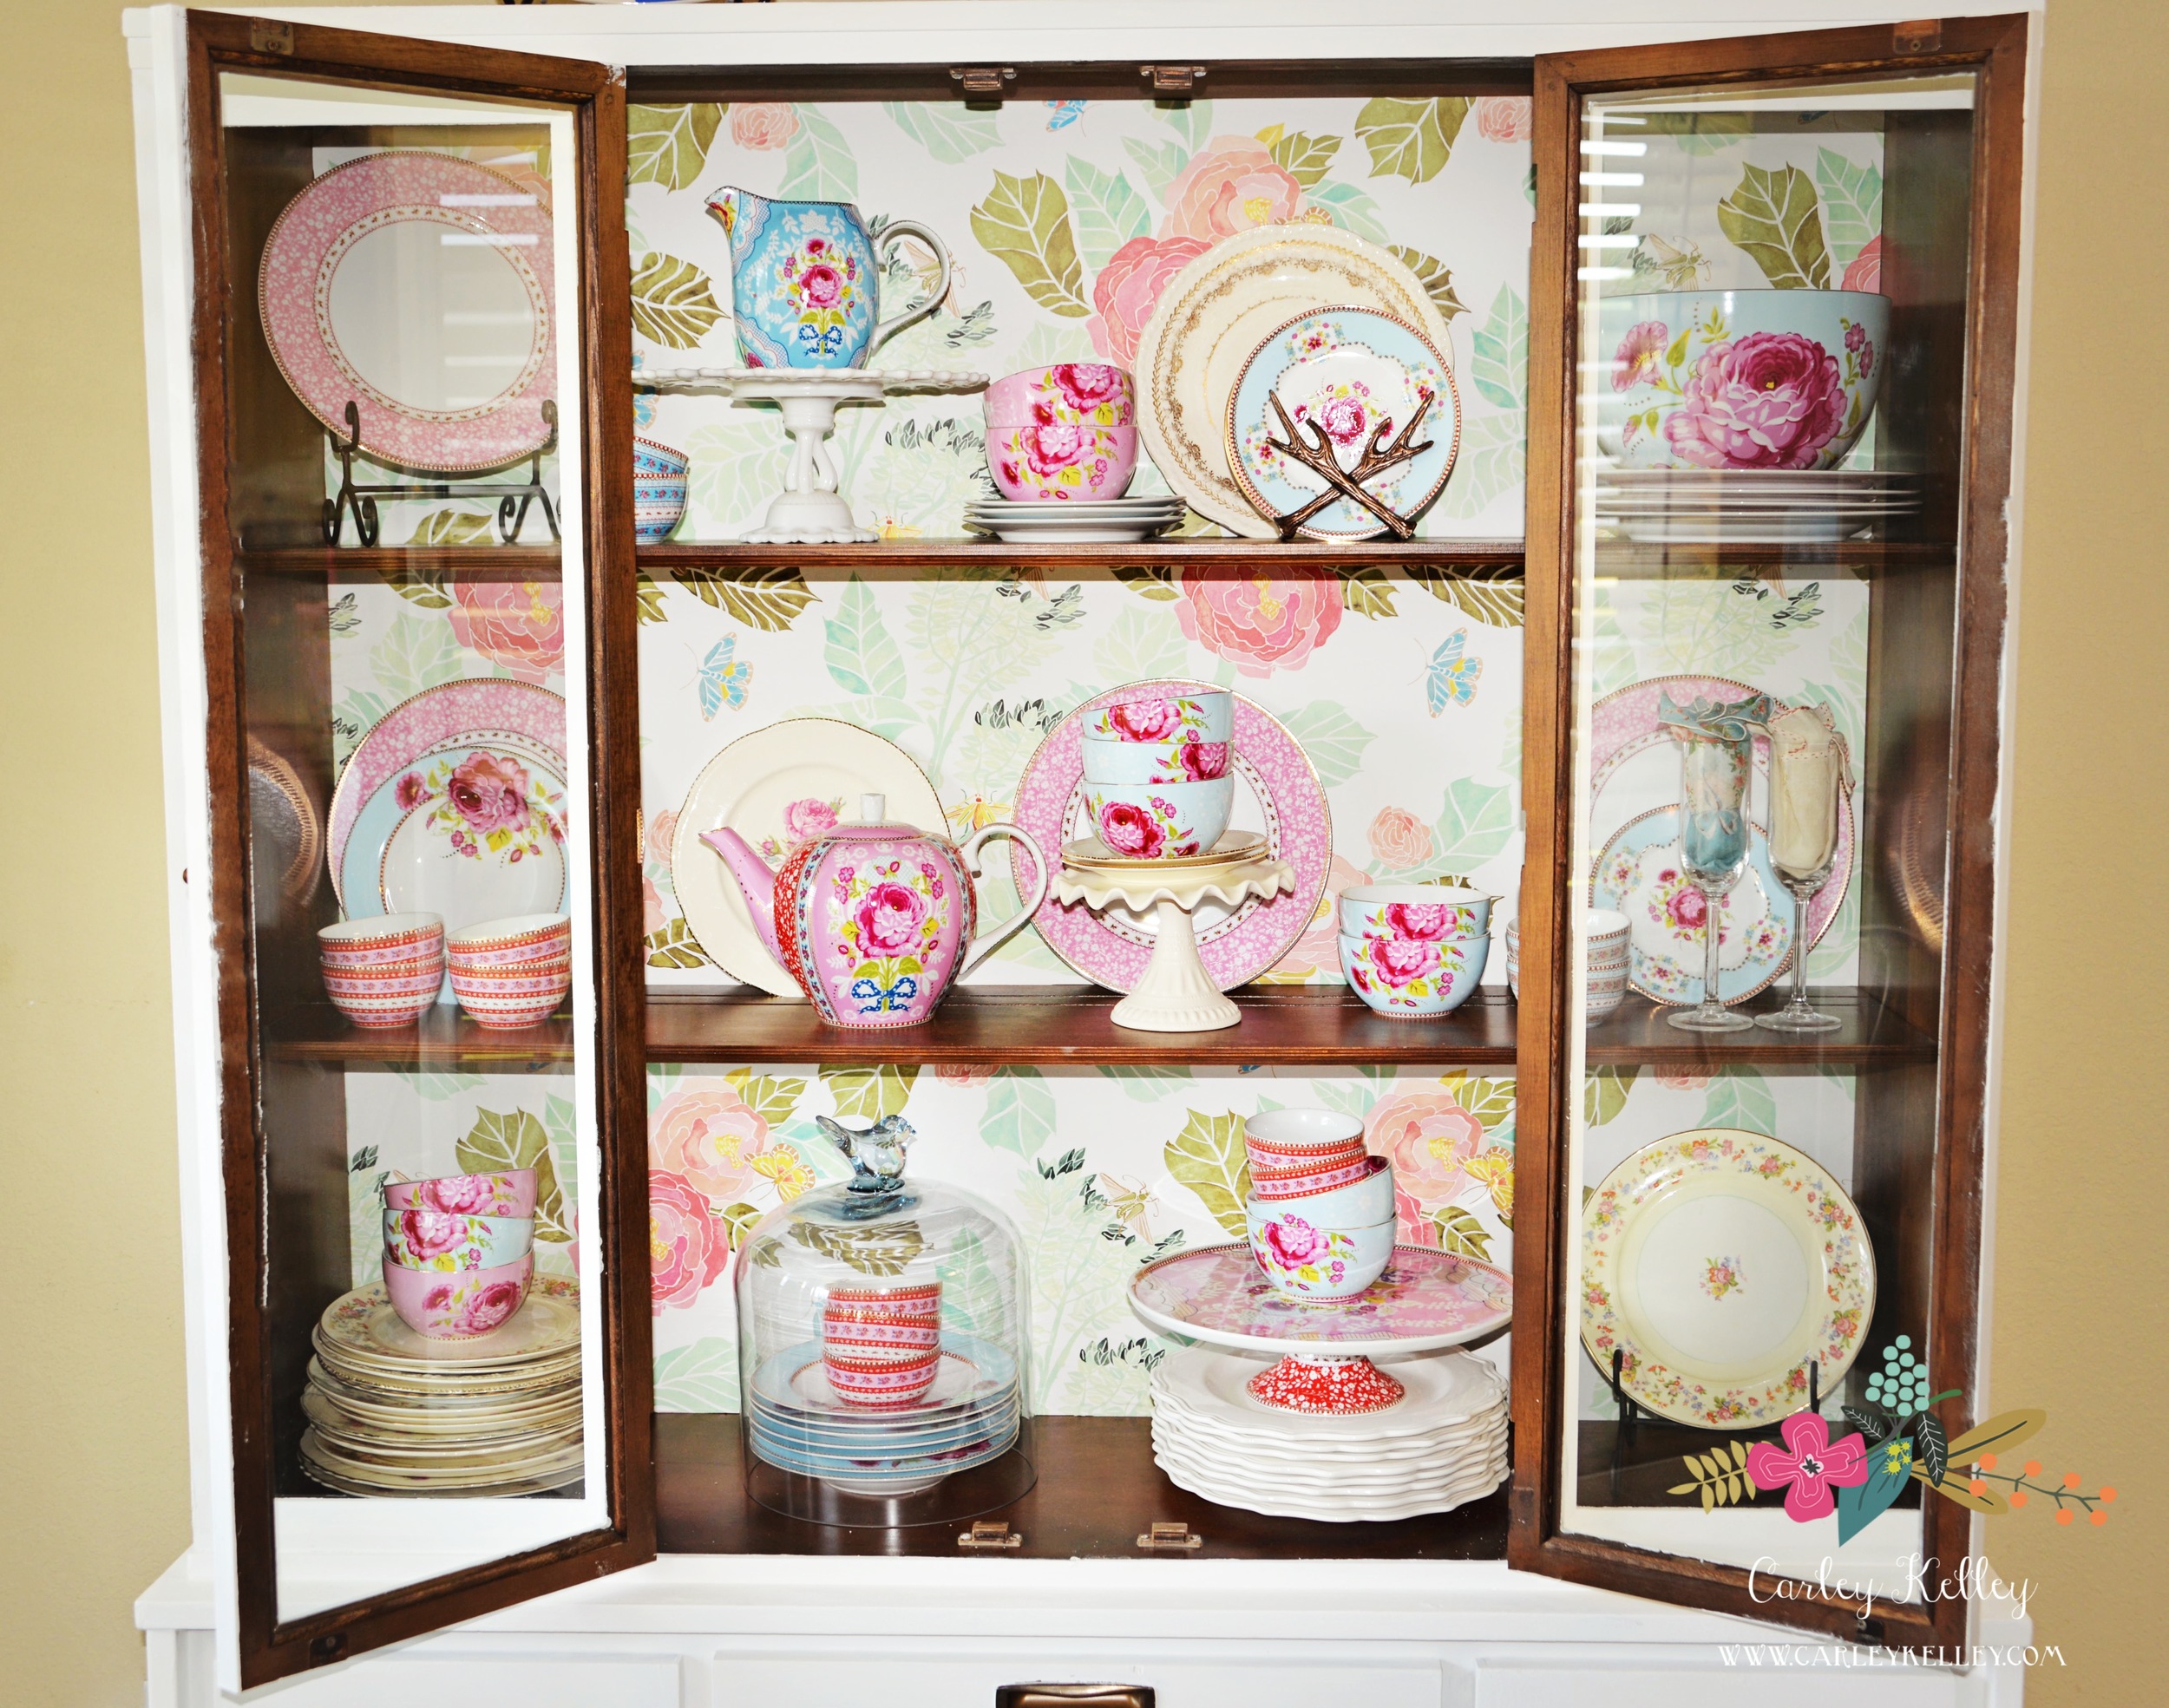
After everything is dry you then put everything together following the included instructions. It was a pretty easy build and I was able to do it all by myself. After the kitchen is built I took a foam poster board and used double sided tape to attach my Rifle Paper wrapping sheet to it. You could use many things I just happened to have the tape. The wrapping sheet is pretty close to the size of the back of the kitchen. I just used the box cutter to trip it to size and then used a staple gun to attach it to the back of the kitchen. You then have a fun, new play kitchen! This was so fun to have under the tree Christmas morning. My girl loved it even though she was a little disappointed that there was no running water.